Health and Safety Information
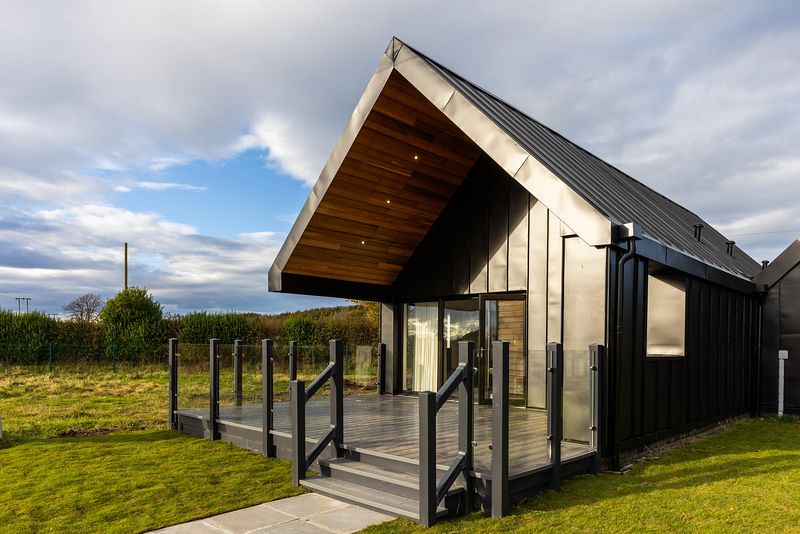
Todhill chalets are designed to be luxurious and inclusive holiday options for the people we support. The following information can help you consider how support and safety needs can be met whilst on holiday.
Prior Risk Assessment
- Before booking a Todhill chalet break, a holiday risk assessment must be conducted by service staff following our standard risk assessment protocol.
- Please note we are unable to share details about other holiday makers occupying chalets, or people who may be in the immediate vicinity. As such they may not be a suitable holiday destination for supported people who are subject to certain forms of legal restrictions.
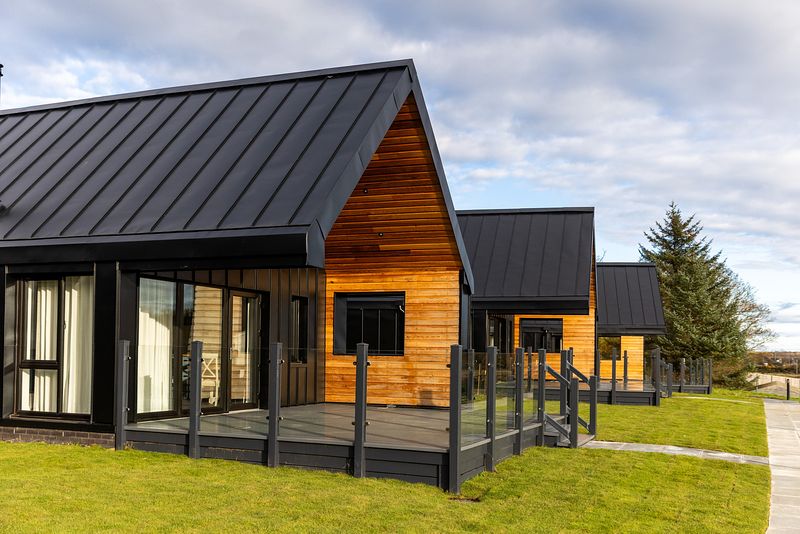
Morrison Chalet Hoist System
- Bedroom one in the Morrison chalet is fitted with a Likorall 242 tracking hoist.
- This piece of equipment must only be used by staff who have been service specific trained.
- Holiday makers that require the use of the hoist must bring their own sling which must return with them at the end of their break.
- Please ensure that the control handset is returned to the dock after use for charging purposes.
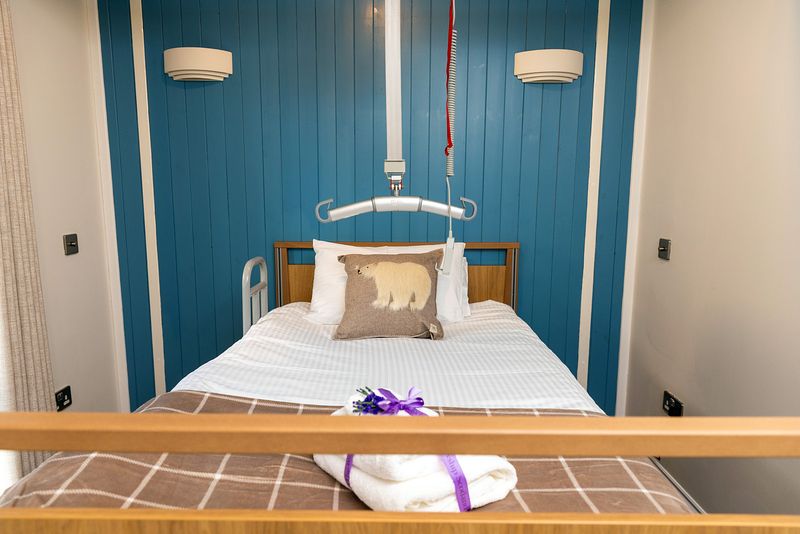
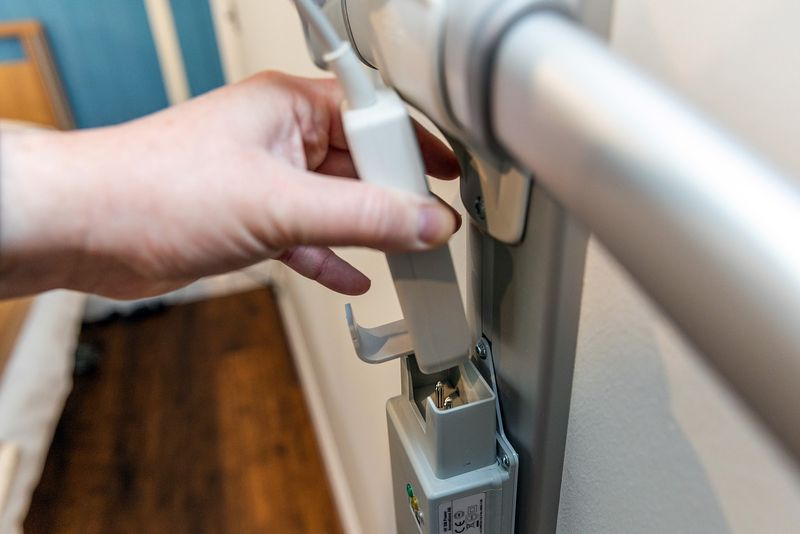
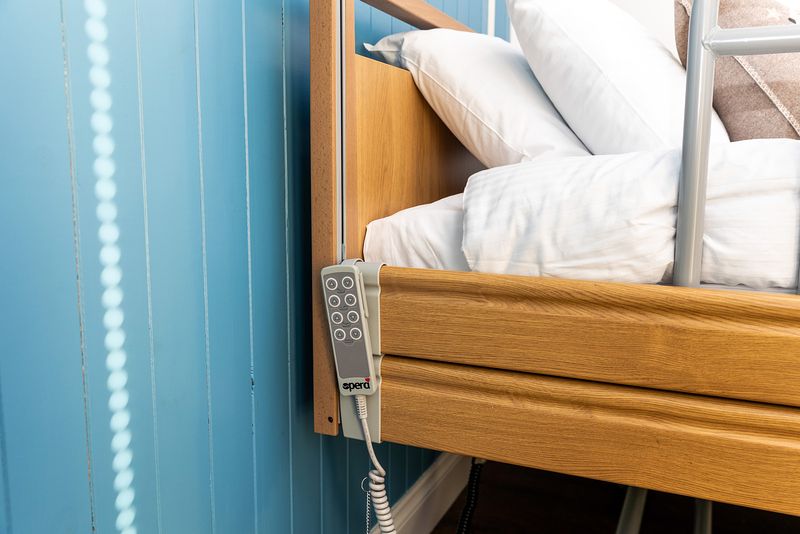
Morrison Chalet Movement Adjustable Bed
- Bedroom one in the Morrison Chalet is equipped with a single movement adjustable bed.
- The bed also features safety rails that can be manually raised on each side and a fixed safety grab rail.


Morrison Chalet Slide Sheet
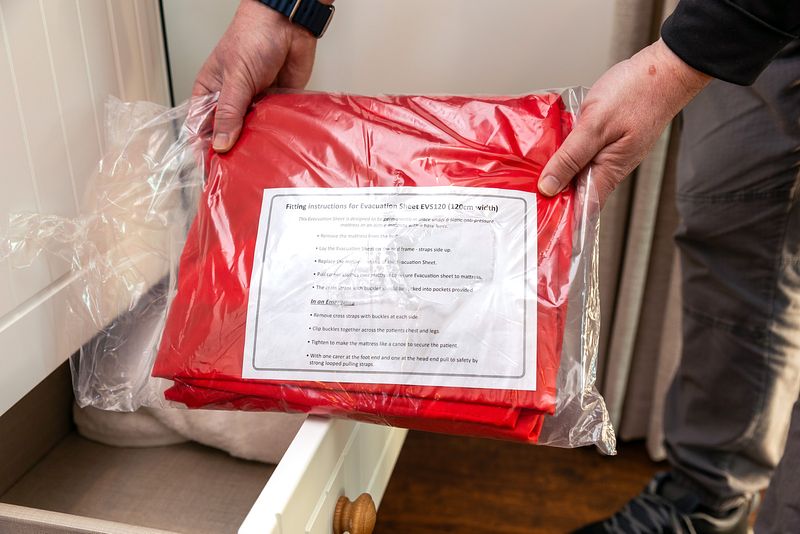
- An evacuation slide sheet and instructions is stored in the top drawer of the wardrobe unit in bedroom one. The slide sheet must be fitted if the occupant requires the use of this piece of equipment in their own home.
- Only staff who are service specific trained in the use and application of a slide sheet should apply and use this piece of equipment.
- The slide sheet must be removed and returned to the wardrobe drawer prior to departure.
Fire Safety
- Fire evacuation protocols are contained within the information pack in each chalet and must be read upon arrival.
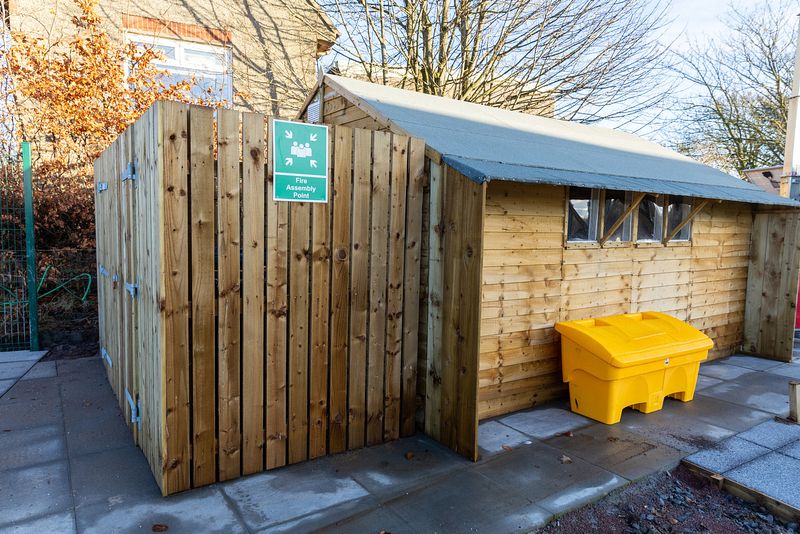
- The Fire Assembly Point is clearly marked on the storage shed / bin shelter which is forward left as you enter the car park.
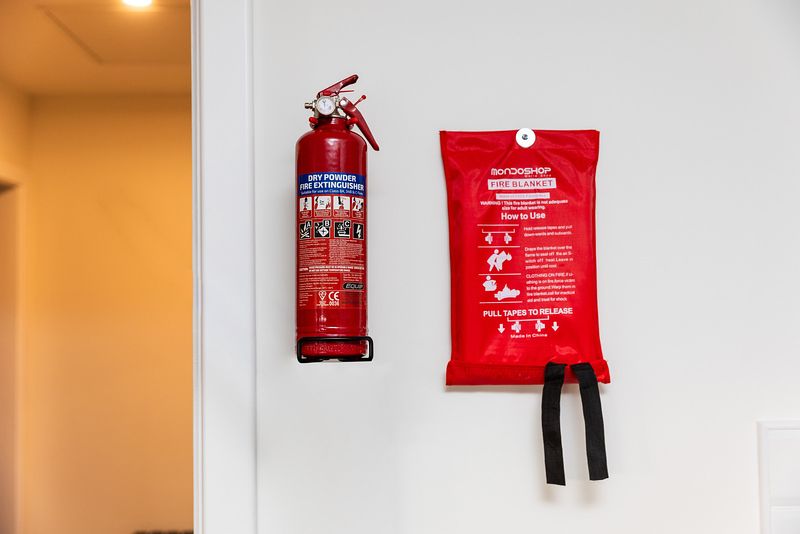
- A fire blanked and dry power fire extinguisher are wall mounted next to the kitchen area.
Wood Burning Stove
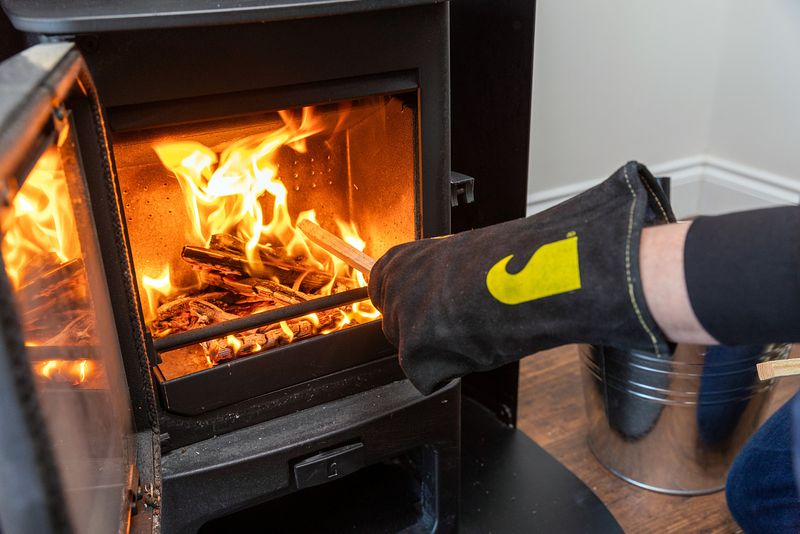
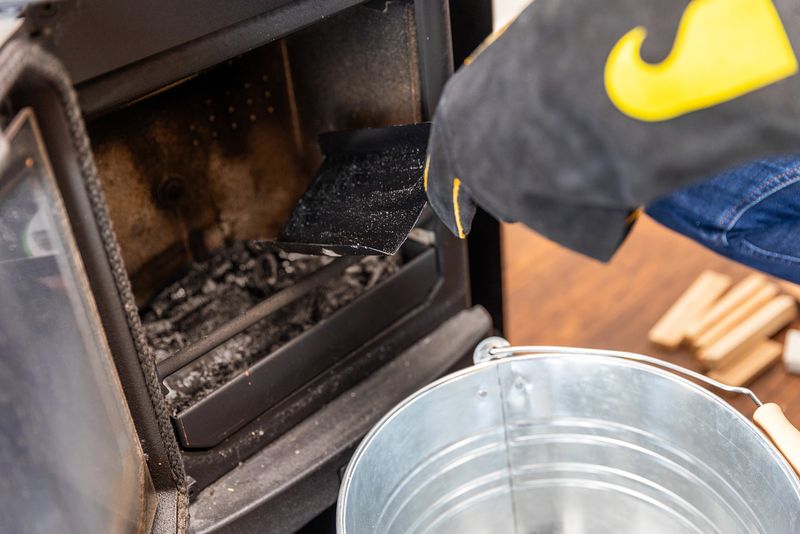
- Each chalet contains a wood burning stove; protective gloves; and stove cleaning / ash disposal kits.
- Stoves must not be used if the occupants have identified risks in relation to fire safety.
- To light the stove, first make sure the cavity is empty; clean of any previously burned wood or ash; and the bottom try is in the correct flat position.
- Begin by opening the air value on the front of the stove by pulling it toward you.
- Add a small amount of kindling wood and carefully ignite using one of the firelighters supplied.
- Fire wood and fire lighters will be supplied. It is strictly forbidden to use any other fuels or materials in the stoves.
- Close the stove door and allow the fire to grow gradually.
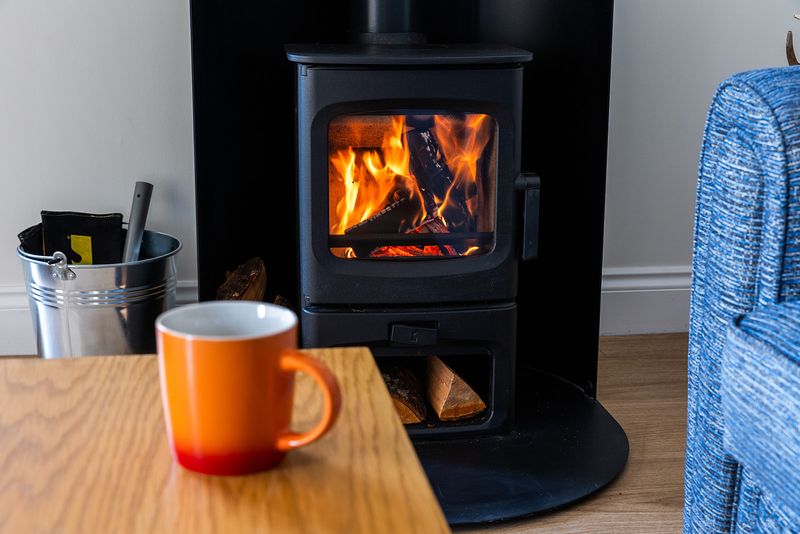
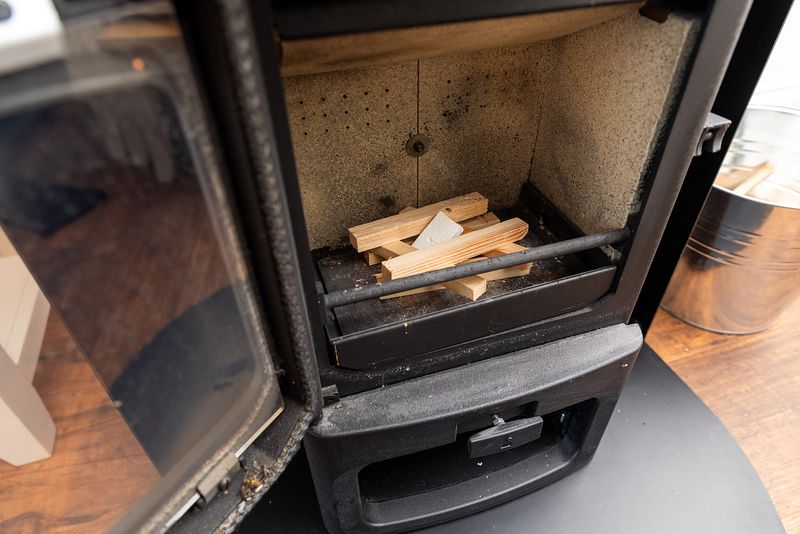
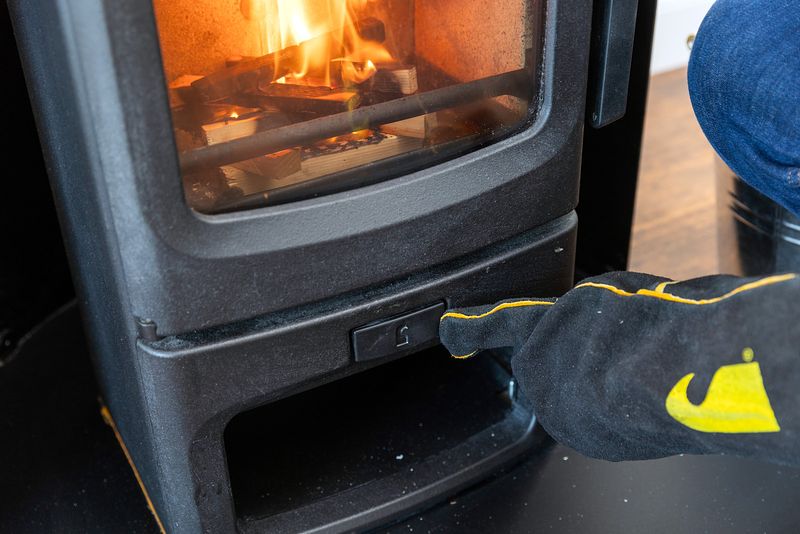
- To add fuel, use the fire protective glove to safely open the door and add a small amount of wood. Do not over fill the stove.
- The speed and intensity of the wood burn can be controlled by closing and opening the air valve on the front of the stove (fire protective gloves must be worn to do this).
- Closing the air valve by pushing it towards the stove will restrict the flow of air and will cause the fire to gradually extinguish.
- The stove door must remain closed until all embers have extinguished and the stove has become cold (this can take several hours).
- When the stove is cold and no embers remain; use the hearth cleaning tools provided to remove ash from the stove. Ash should be carefully placed into metal ash bins provided and immediate taken to to the dedicated external ash bin located at the bin store attached to the car park storage shed.
